The dreaded nail trim is a common struggle for many puppies and their owners. This process often involves wiggling, whining, and the ever-present fear of cutting the quick. For nervous dogs, the sharp snip of clippers can be particularly terrifying. Fortunately, a high-quality puppy nail grinder can serve as a complete game-changer. Unlike clippers, grinders gently file the nail down, offering more control and eliminating the risk of a painful quick cut. However, it’s important to note that not all grinders are created equal, especially for a sensitive pup.
This comprehensive guide is dedicated to finding the best puppy nail grinder for anxious and nervous dogs. We’ll explore the key features that make a grinder suitable for a fearful pup and review top models known for their quiet operation and gentle performance. Furthermore, we will provide a step-by-step training plan to desensitize your puppy to the process. Ultimately, our goal is to transform nail care from a battle into a calm, bonding experience.
Why a Grinder is Superior for Nervous Puppies & Dogs 🆚✂️
Understanding the benefits can help you commit to the process of acclimating your puppy.
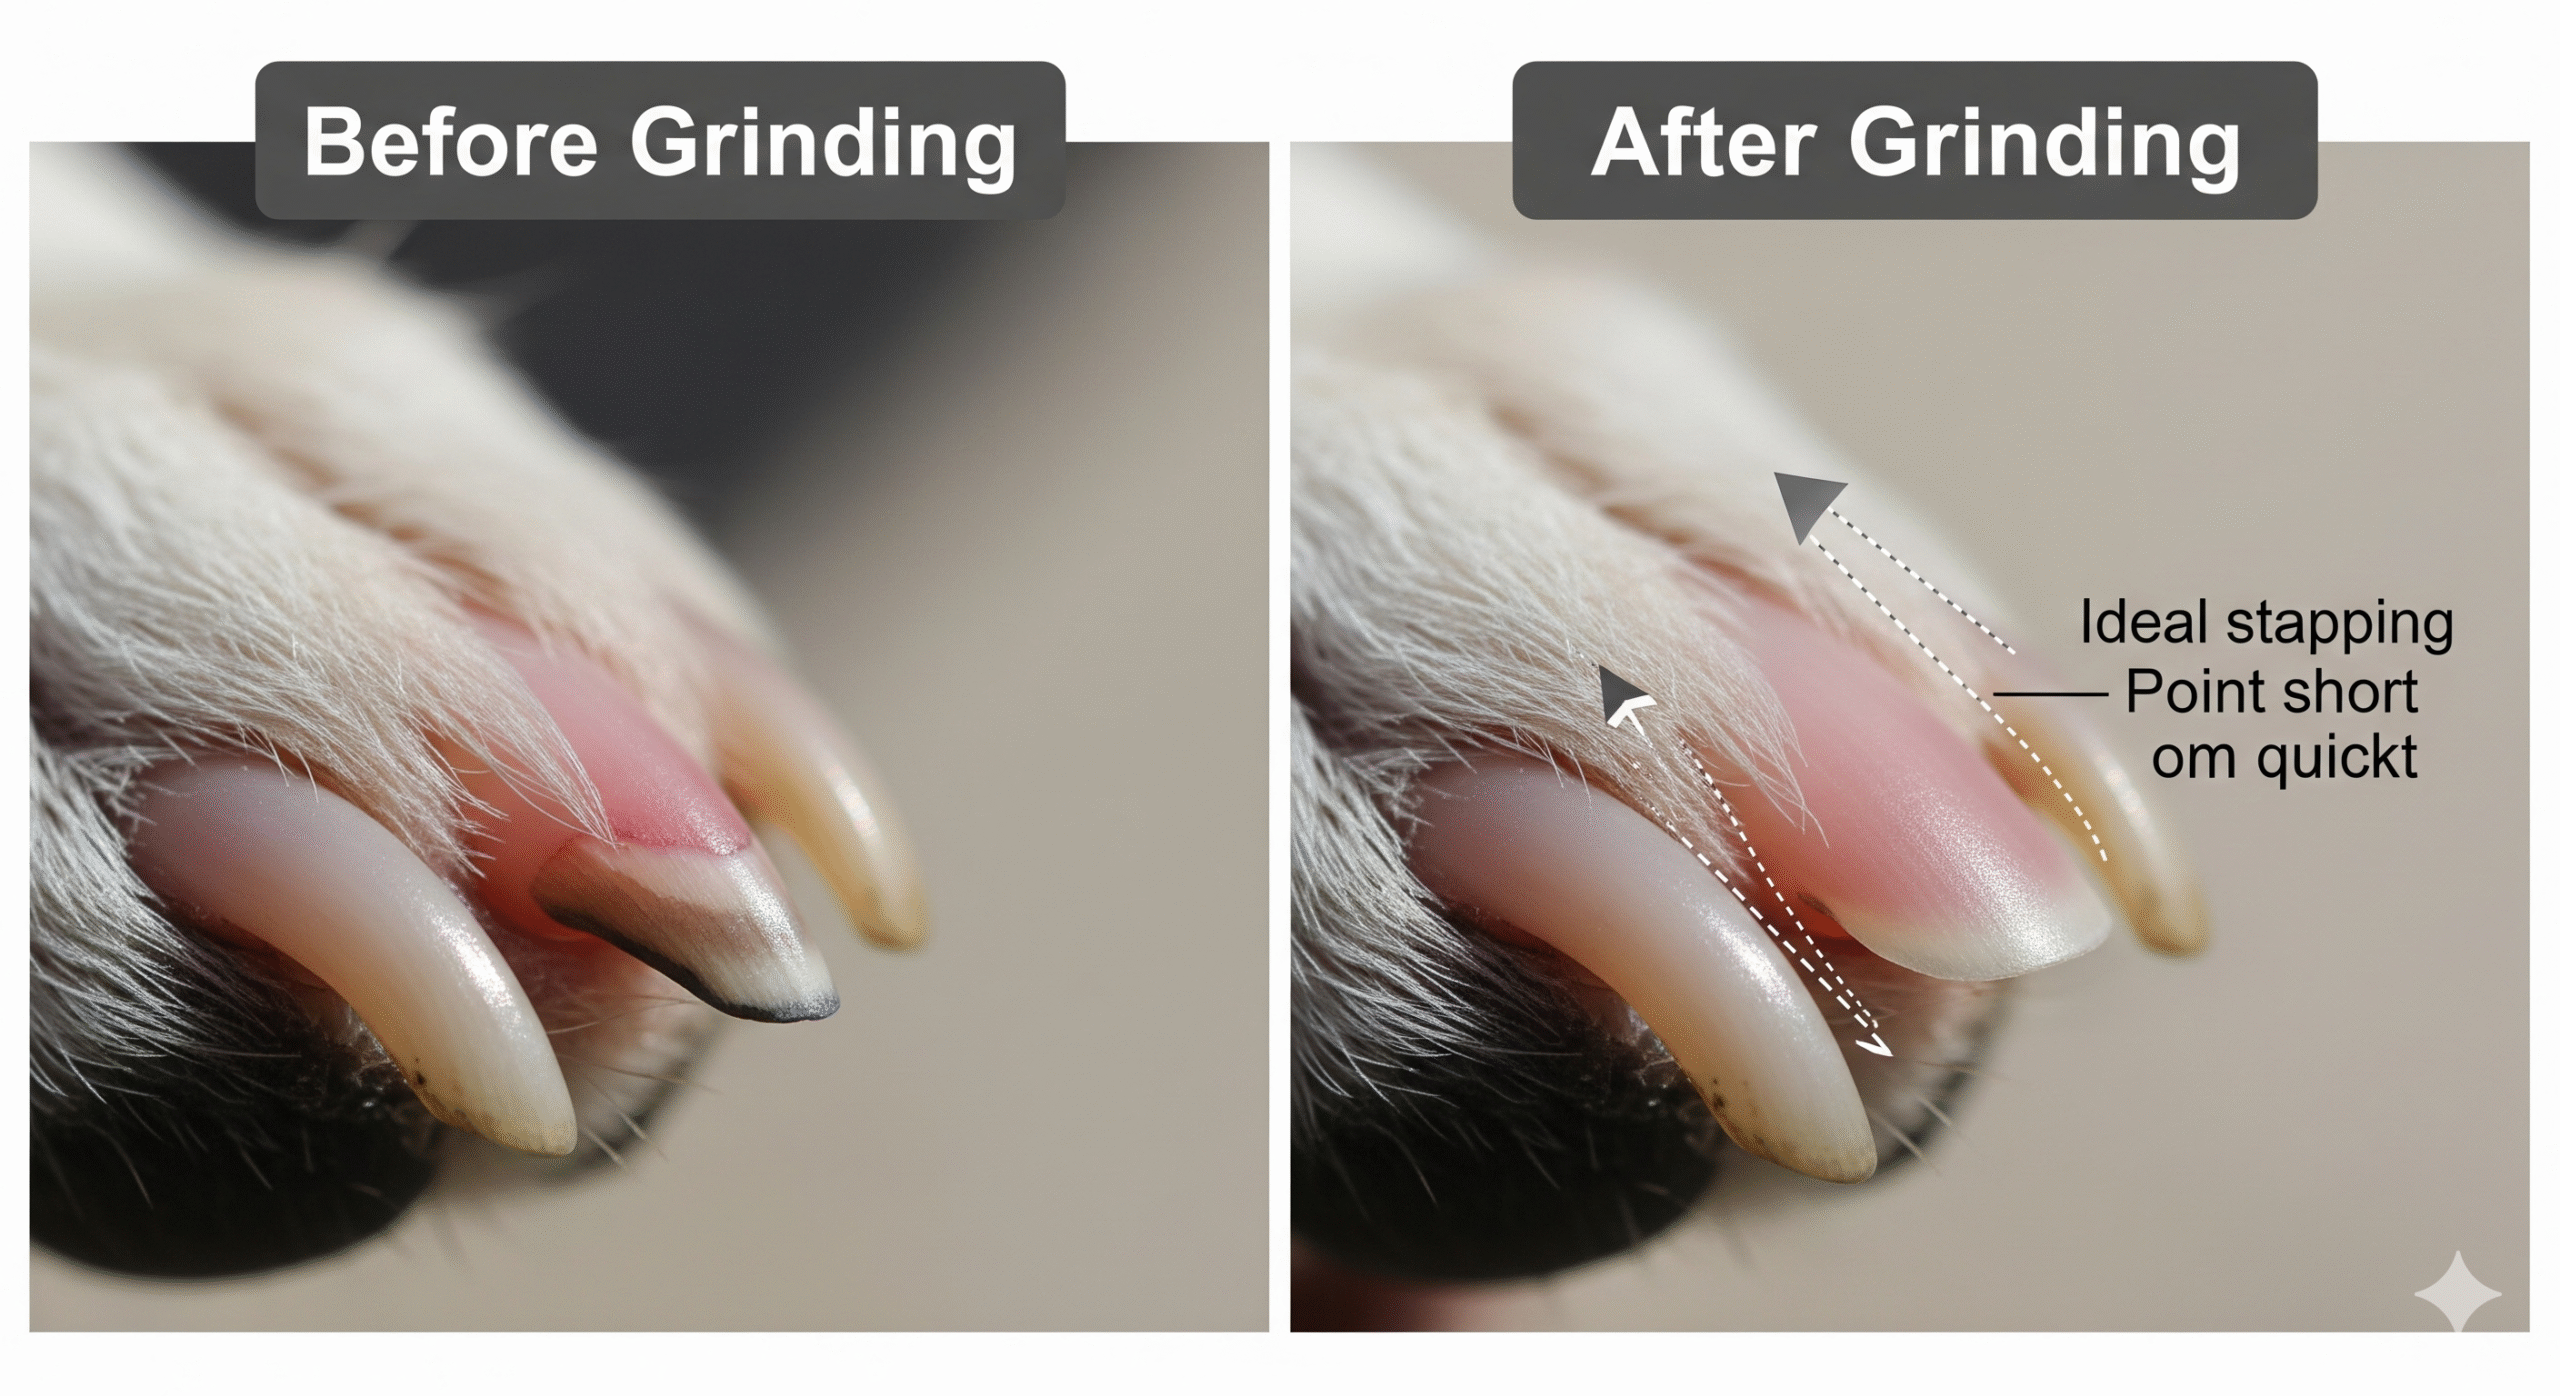
- No Risk of Quicking: This is the biggest advantage. The grinder sands the nail down gradually, allowing you to see the inner “quick” (which appears as a pinkish oval) and stop before you reach it. As a result, this eliminates the pain and fear associated with clipping too short.
- Smooth Finish: While clippers can leave sharp, jagged edges that snag on carpets and furniture, grinders create a smooth, rounded finish.
- More Control: You can take off tiny amounts of nail at a time, which is ideal for black nails where the quick is invisible.
- Less Pinching: Some dogs dislike the pressure and pinching sensation of clippers. Conversely, a grinder applies a gentle, consistent vibration.
Key Features to Look for in a Grinder for Anxious Dogs 🔍
When shopping for the best puppy nail grinder for a nervous dog, prioritize these features:
- Low Noise & Low Vibration: This is the most important factor. A loud, jarring tool will scare your puppy and set back training. Therefore, look for models specifically marketed as “quiet” or “low-noise.”
- Variable Speed Settings: A low-speed setting is essential for beginners and sensitive pups. Specifically, it gives you more control and is less intimidating than a high-speed grind.
- Safety Guard & Guide: A built-in guard helps prevent fur from getting caught in the grinding head. Additionally, some models have light guides to improve visibility.
- Right Size & Ergonomics: The grinder should be comfortable to hold and control. For instance, smaller models are often better for small puppy nails.
- Durable Construction: A well-made motor will provide consistent performance and last longer.
Top Picks: The Best Puppy Nail Grinders for Nervous Dogs 🏆
Based on the criteria above, here are the top performers renowned for their gentle approach.
1. Dremel 7300-PT Pet Nail Grooming Kit 🛠️
- Why It’s Great: The Dremel is the gold standard for a reason. Specifically, the 7300-PT model is designed for pets, featuring a quiet, low-noise motor and two variable speeds (6,000 & 13,000 RPM). This makes the low speed perfect for beginners. Moreover, it comes with a safety guard and multiple sanding bands.
- Best For: Owners committed to long-term nail grinding and who want a professional-grade, durable tool.
- Consideration: It is still a powered tool and requires a careful desensitization process.
2. Boshel Dog Nail Grinder 🌟
- Why It’s Great: Boshel is arguably the top contender for truly nervous dogs. It is consistently praised for being one of the quietest and least vibrating models on the market. Furthermore, it features two speeds, a built-in light to see the quick, and a comfortable design. Thus, it’s an excellent “starter grinder.”
- Best For: Highly anxious dogs, first-time grinder users, and small to medium-sized breeds.
- Consideration: The motor may be less powerful than the Dremel for very thick nails on large breeds.
3. Oster Gentle Paws Less Noise Nail Grinder 🐾
- Why It’s Great: From a trusted brand in pet grooming, the Oster Gentle Paws is engineered for reduced noise. It also has a unique “progressive grind” technology designed to be smoother and more comfortable for the pet. Additionally, it includes a safety guard and multiple grinding heads.
- Best For: Owners who trust established pet brands and want a balanced combination of power and gentleness.
How to Desensitize Your Nervous Puppy to the Nail Grinder: A Step-by-Step Plan 🎓
The tool is only half the battle. Success lies in a patient, positive training process. Be aware that this may take days or weeks.
Step 1: Create a Positive Association (Without Turning It On)
- Let your puppy sniff the grinder. Then, click and treat (or praise and treat) for any interest.
- Next, hold the grinder near their paw, click, and treat.
- Repeat this process until they are completely calm with the grinder nearby.
Step 2: Introduce the Sound and Vibration 🔈
- This is the critical phase. First, turn the grinder on at the lowest speed setting in another room. Then, give your puppy a high-value treat (chicken, cheese) just for hearing the sound.
- Gradually bring the running grinder closer while continuously feeding treats. However, if they show fear, create more distance.
- Once they are comfortable, gently touch the turned-off grinder to each of their nails for a split second. Finally, click and treat for each nail.
Step 3: The First Grind 🐾
- Hold your puppy’s paw firmly but gently. Then, turn on the grinder and gently touch the spinning head to one nail for one second. Immediately after, click, offer a jackpot treat, and stop the session. Most importantly, keep it incredibly short and positive.
- Over subsequent sessions, gradually increase from one nail to two, then three. Similarly, slowly increase the time you grind each nail (from 1 second to 2, then 3).
Pro Tips for a Successful Grinding Session ✅
- Timing is Everything: First, exercise your puppy beforehand to help them be calm and relaxed.
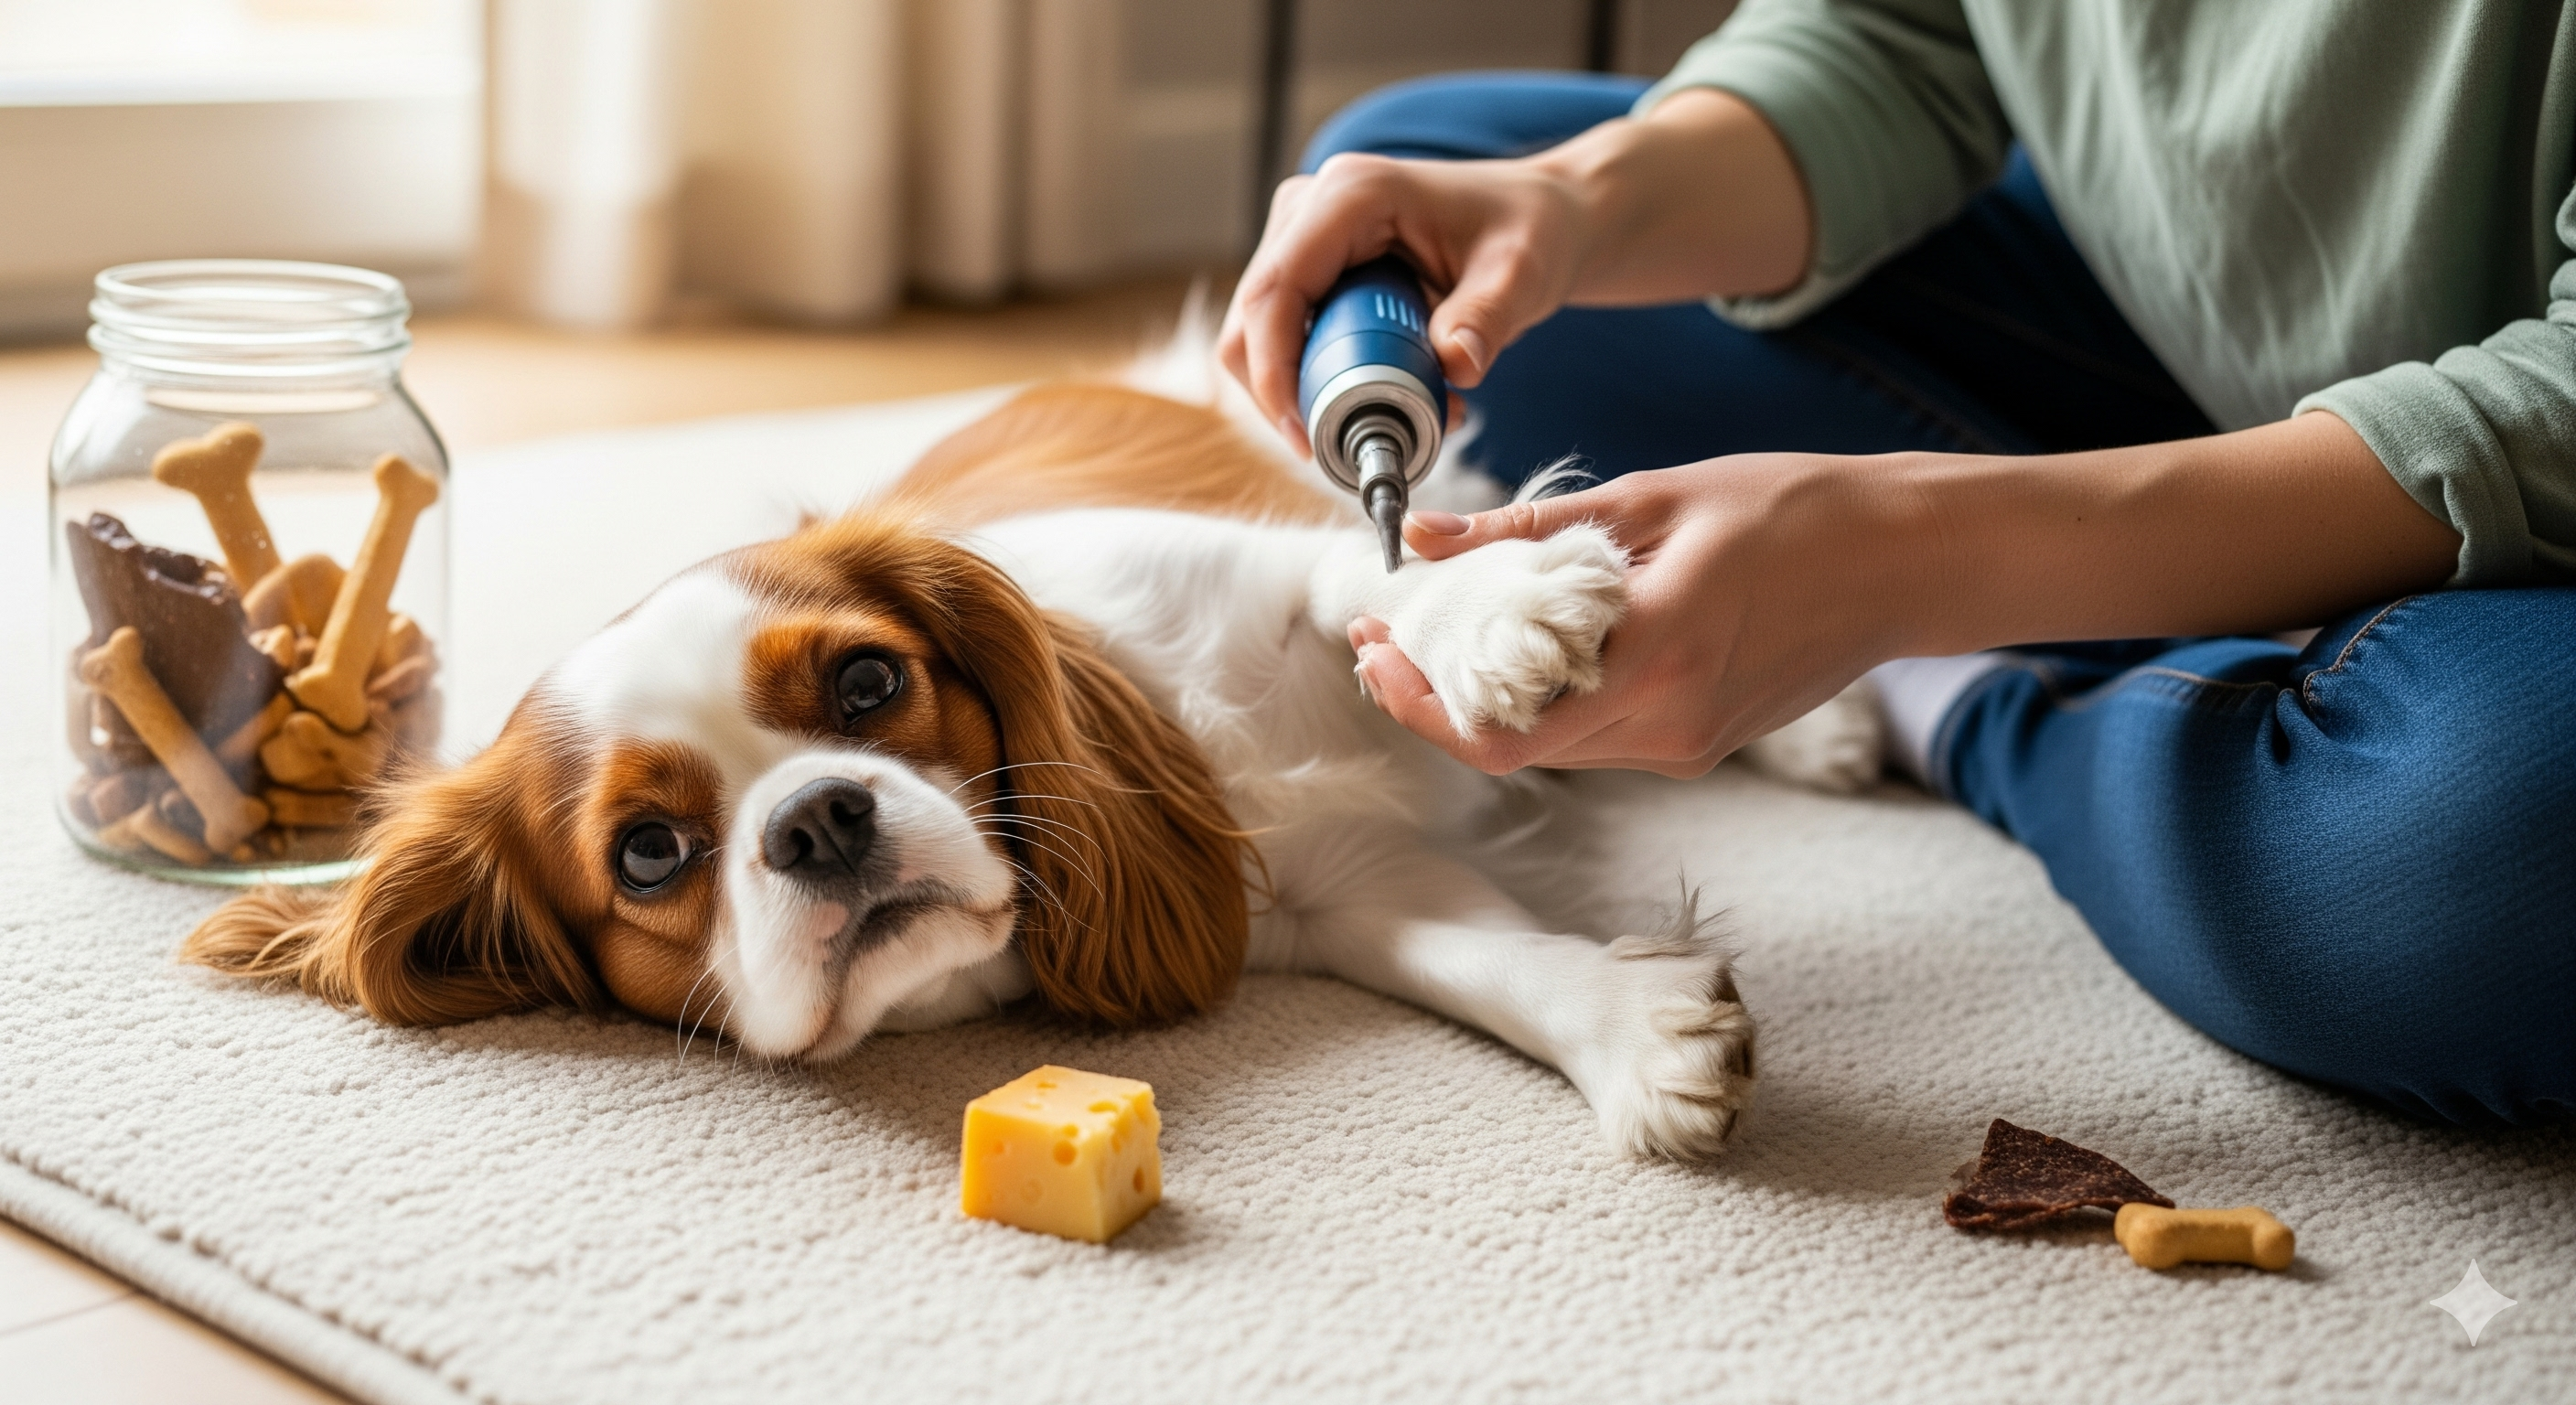
- Use High-Value Treats: Reserve something special like freeze-dried liver or peanut butter that they only get during grinding sessions.
- Don’t Overheat the Nail: To avoid heat buildup from friction, grind in short, 2-3 second bursts per nail.
- Know Your Anatomy: Familiarize yourself with the quick. For example, on white nails, it’s the pink inner area. On black nails, look for a white dot in the center; as you grind, you’ll see a black dot appear—this is the keratin shell before the quick. Stop when you see this.
- Make it a Routine: Frequent, short sessions are better than long, infrequent ones. Consequently, grinding a little bit every week prevents the quick from growing out and makes sessions faster.
What to Do If Your Puppy Is Still Terrified 😥
If you’ve hit a wall, don’t force it. Remember, forcing will make the fear worse.
- Take a Break: Go back a few steps in the training process or take a few days off.
- Seek Professional Help: A certified professional dog trainer or a cooperative care certified professional can provide guidance.
- Consider Alternatives: For some dogs, a scratchboard (a sandpaper-covered board they can scratch at themselves) is a less stressful way to file down the front nails.
Conclusion: Patience Leads to Peaceful Pedicures
Finding the best puppy nail grinder is about more than just buying a tool; it’s about investing in a positive process. By choosing a quiet, low-vibration model and, most importantly, dedicating time to patient desensitization, you can overcome your dog’s fear. Therefore, the result is a lifetime of stress-free nail care, protecting your furniture, your puppy’s paws, and the trusting bond you share.
🐶 Call to Action (CTA): What’s your biggest challenge with trimming your puppy’s nails? Share your story or ask a question in the comments below! For our free printable desensitization checklist, subscribe to our newsletter!
“Before you even bring your puppy home, it’s important to scout every room for hazards. The bathroom is often overlooked. Secure cleaning products behind cabinets, keep the toilet lid closed, and ensure all medications are out of reach. Once your bathroom is safe, it becomes the perfect place for another important first: bath time. A secure, non-slip environment is key to a successful and safe bathing experience. Now that your space is prepared, the next step is learning the technique itself. Get ready for your puppy’s first splash session by mastering the method in our tutorial: How to Bathe a Puppy for the First Time.“