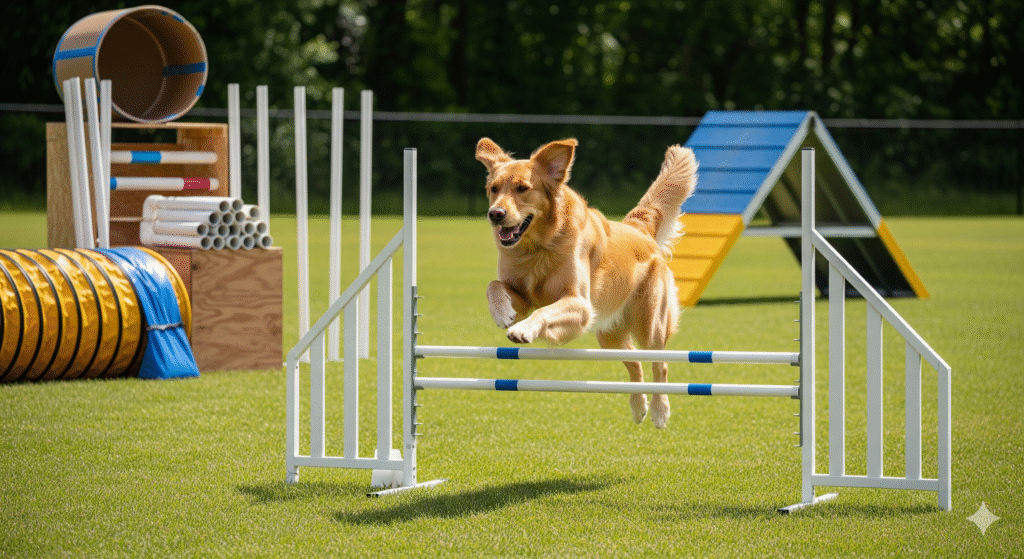
The thrill of watching a dog navigate an agility course is undeniable, and it’s natural to want to share that fun with your puppy. However, formal agility equipment is expensive, often too large for a young dog, and—most importantly—can be dangerous for developing joints. A DIY puppy agility course isn’t about height or speed; it’s about building confidence, teaching foundational skills, and providing mental and physical stimulation using safe, low-to-the-ground obstacles. This approach lets you channel your puppy’s energy constructively while strengthening your bond, all without risking injury.
This guide will show you how to transform everyday household items and inexpensive supplies into a stimulating backyard playground. We’ll focus on flatwork and foundation skills that are appropriate for puppies, ensuring every activity is safe and beneficial for their growth.
Here’s what we’ll cover:
✔️ The golden rule of puppy agility: NO JUMPING to protect growing joints
✔️ 5 essential DIY obstacles you can build in an afternoon for under $50
✔️ Step-by-step building instructions for each element
✔️ How to introduce each obstacle to build confidence and avoid fear
✔️ Fun games and sequences to play on your homemade course
✔️ Safety checks and maintenance tips for your DIY equipment
Let’s get building and create a backyard adventure that will tire your puppy out both mentally and physically!
The #1 Rule: Keep It on the Ground! Protecting Growing Joints 🦴
This cannot be overstated. A puppy’s growth plates (the areas of cartilage at the ends of long bones) do not fully close until they are physically mature.
- Small Breeds: 12-14 months
- Medium Breeds: 14-16 months
- Large Breeds: 16-18 months
- Giant Breeds: 18-24 months
Jumping from heights or over obstacles can cause permanent damage to these growth plates, leading to early arthritis and lifelong pain.
Your DIY course should focus on skills, not height. All obstacles must be on the ground or so low that there is no impact on joints.
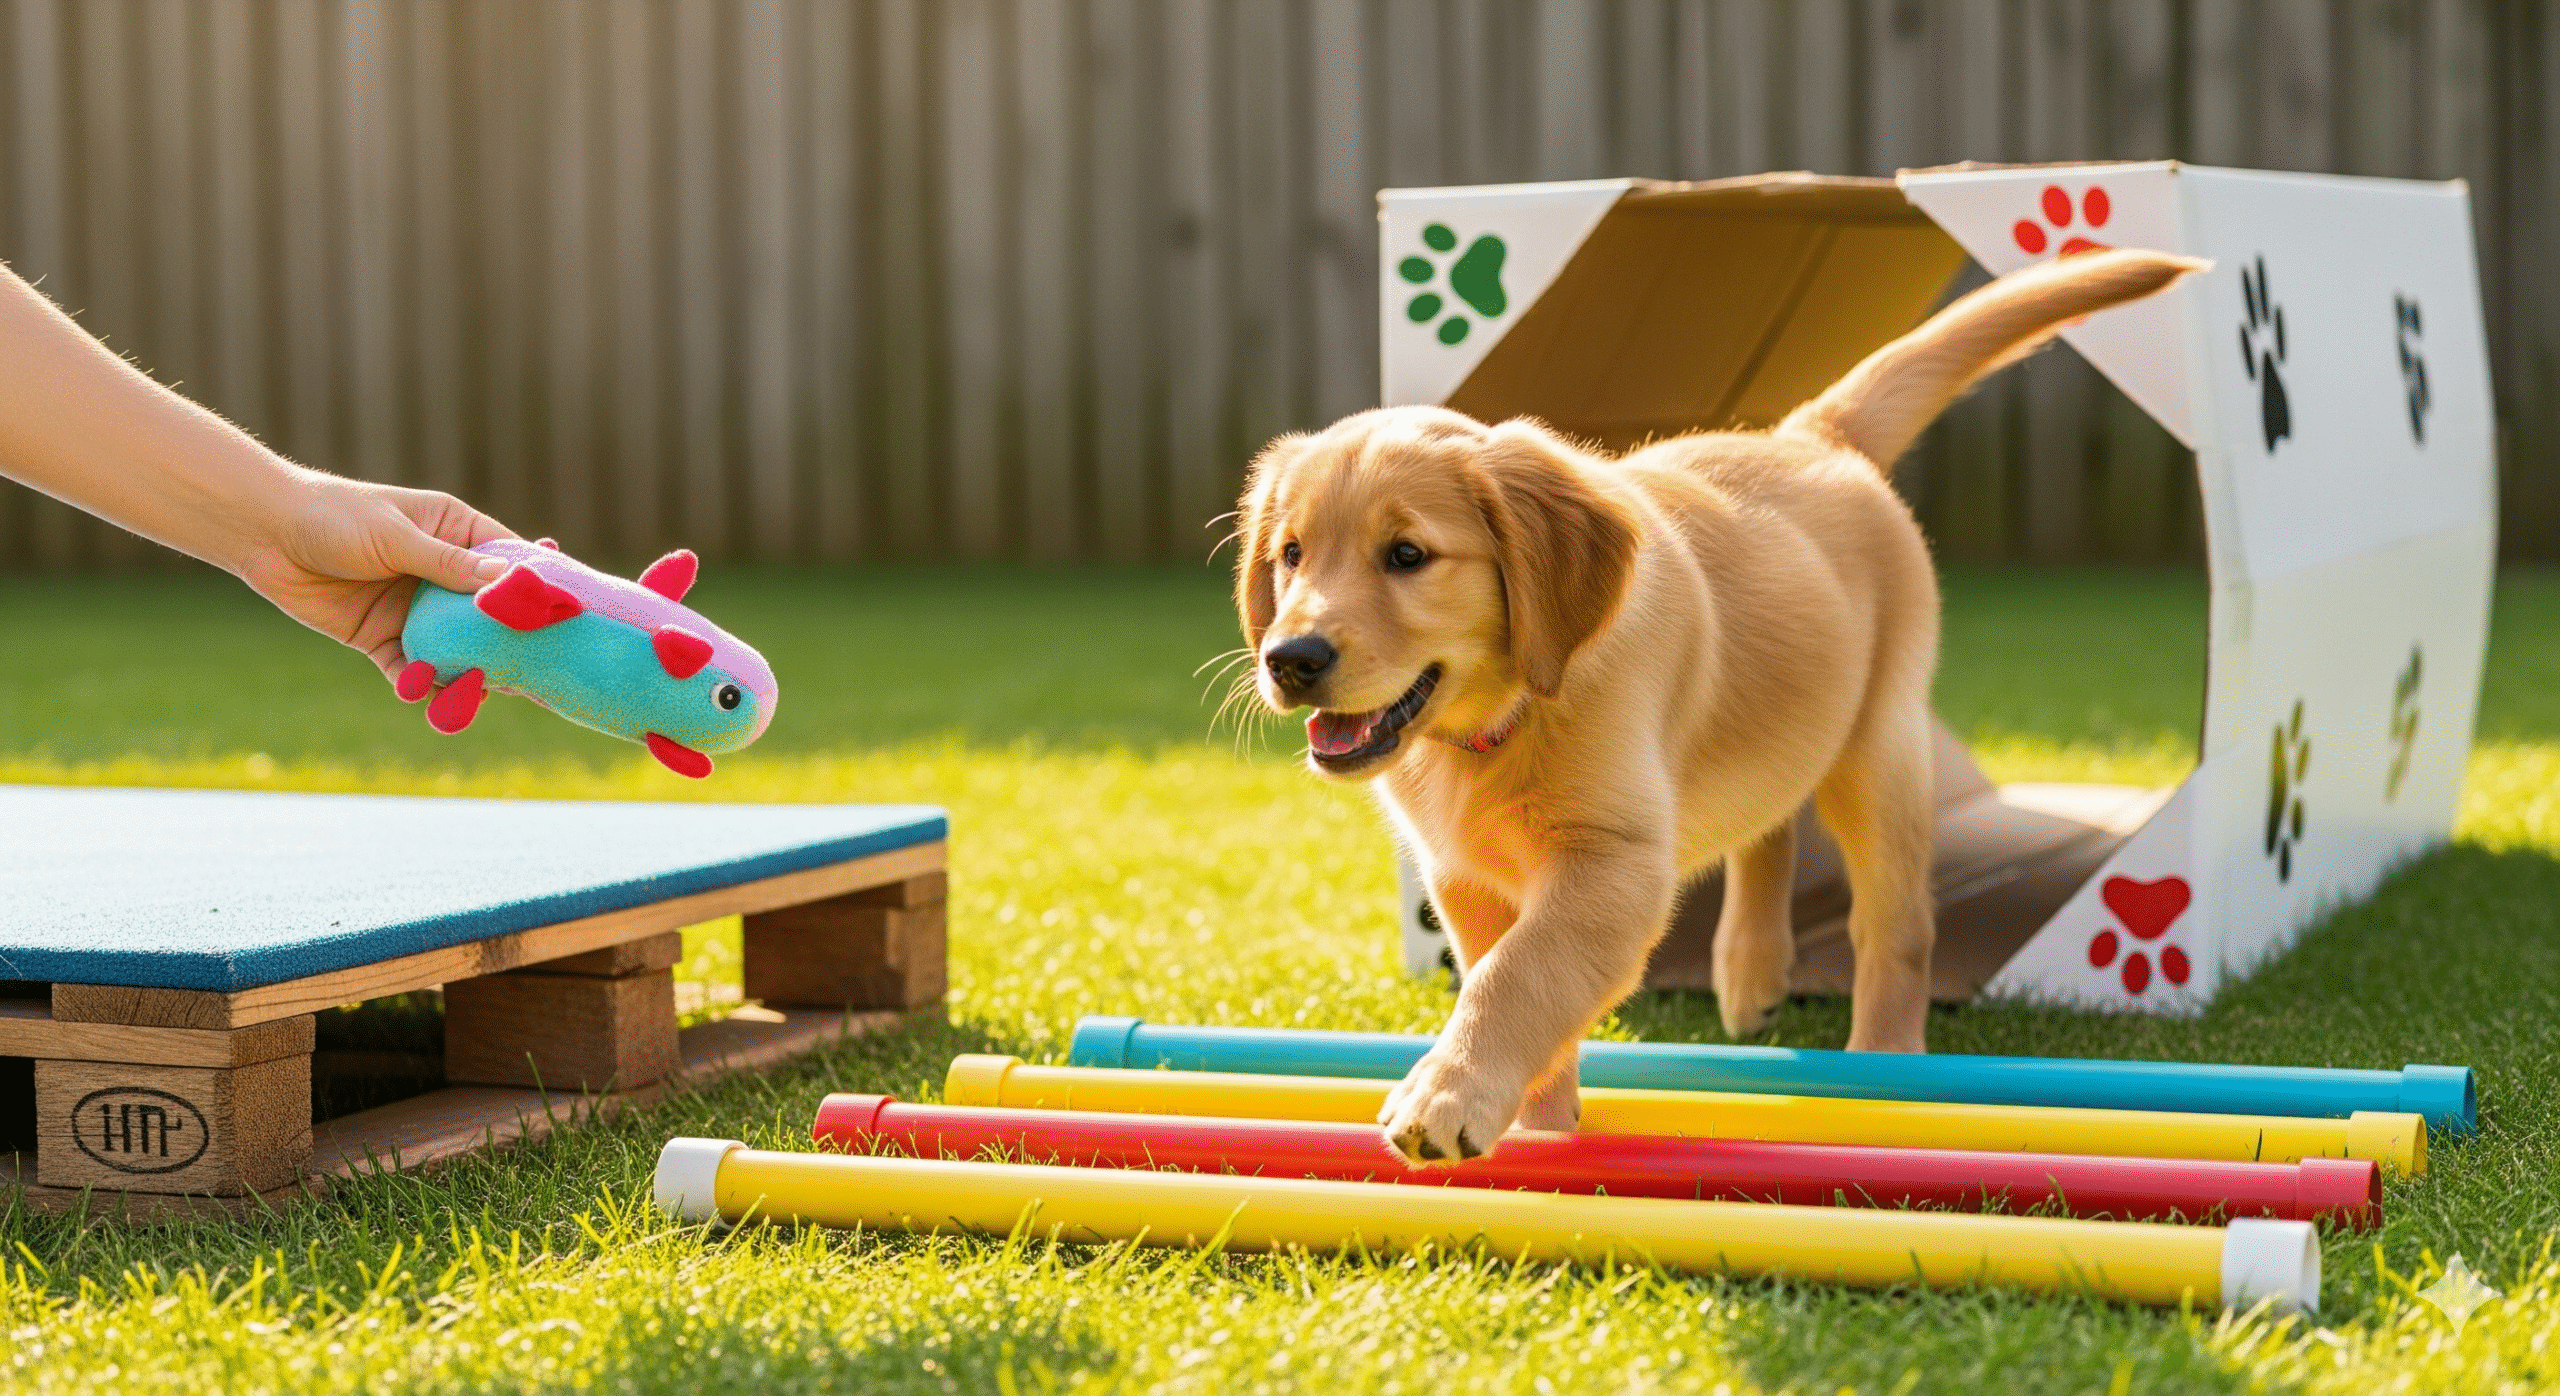
Essential DIY Puppy Agility Obstacles 🛠️
You can build a complete course with items from your garage, a hardware store, or dollar store.
1. Cavaletti Poles (Ground Poles) ⚫
- Purpose: Teaches mindful stepping, improves coordination, and introduces the concept of navigating obstacles.
- How to Build: Use PVC pipes, broom handles, or wooden dowels. Place them on the ground in a straight line, starting about 12 inches apart. You can use empty paint cans or water bottles as supports to keep them from rolling, but they should still be flat on the ground.
- How to Use: Lure your puppy slowly over each pole with a treat, rewarding after each one. Keep the sessions short and positive.
2. The Tunnel 🌀
- Purpose: Builds confidence and teaches your puppy to follow a lure through a confined space.
- How to Build: Use a large cardboard box with both ends cut out. For a longer tunnel, tape several boxes together. You can also use a pop-up children’s play tunnel, which is perfect because it’s soft and collapsible.
- How to Use: Start with the tunnel completely flattened. Lure your puppy across the flat fabric with a treat. Slowly open it into a short, wide arch. Have a helper hold one end open and lure your puppy through. Never force them; let them explore at their own pace.
3. The Pause Table/Platform 📦
- Purpose: Teaches impulse control (“stay”) and gives your puppy a “job” to do.
- How to Build: Find a sturdy, low wooden crate, a strong cardboard box filled with books, or a large, solid piece of wood (like a leftover shelf). It should be very stable and not wobble. It only needs to be 2-4 inches high.
- How to Use: Lure your puppy onto the platform with a “paws up” command. Reward heavily. Then practice a “sit” and “stay” on the platform.
4. Weave Poles (Beginner Version) 🚦
- Purpose: Introduces the concept of weaving without the physical difficulty of standard poles.
- How to Build: Use 6-10 tall traffic cones, plastic bottles weighted with sand, or tall sticks pushed into the ground in a straight line, spaced about 24 inches apart.
- How to Use: Have your puppy walk in a serpentine pattern around the outside of the cones. Do not expect a true weave. The goal is to get them comfortable moving around objects on cue.
5. The Wobble Board 🎪
- Purpose: Builds confidence, improves balance, and strengthens core muscles.
- How to Build: Place a small square of plywood on top of a tennis ball or a small, sturdy ball. You can cut a shallow hole in the center of the board to keep the ball from rolling out.
- How to Use: Hold the board steady. Lure your puppy to just put their front paws on the board. Reward. Gradually encourage them to put all four paws on while you keep it from wobbling too much.
How to Introduce Obstacles: Building Confidence, Not Fear 🎓
- Keep it Positive: Use high-value treats (chicken, cheese) and lots of praise. Make every obstacle a fun game.
- Let Them Explore: Allow your puppy to sniff and investigate each new piece of equipment without pressure.
- Lure, Don’t Force: Use a treat to guide them. If they seem nervous, break the task down into smaller, easier steps.
- Quit While You’re Ahead: End each session after a few minutes, while your puppy is still having fun. This keeps them eager for the next time.
Designing a Simple Course & Playing Games 🎮
Once your puppy is confident with individual obstacles, you can string them together.
- The Loop: Set up a simple sequence: Tunnel -> Walk around 2 cones -> Over 2 cavaletti poles -> “Paws up” on the platform.
- Follow the Lure: Use a spoon dipped in peanut butter or a special toy to guide your puppy through the sequence.
- Name the Obstacles: Start giving each obstacle a cue word as they perform it (“tunnel,” “poles,” “table”).
- Keep it on the ground and keep it fun!
Safety Checklist for Your DIY Course ✅
☑️ All obstacles are on the ground or very low to the ground.
☑️ There are no sharp edges, nails, or splinters on any equipment.
☑️ The course is set up on a soft surface like grass.
☑️ The wobble board is only used under direct supervision.
☑️ I always supervise my puppy on the course.
☑️ I never force my puppy to try an obstacle they are afraid of.
Consistency is key to teaching your puppy good bite inhibition. By redirecting their nips to appropriate chew toys, you’re building a foundation for a well-mannered adult dog. This is especially important for energetic and mouthy breeds. For more tips tailored to one of the most popular family dogs, read our guide on Goldendoodle puppy temperament and training.